
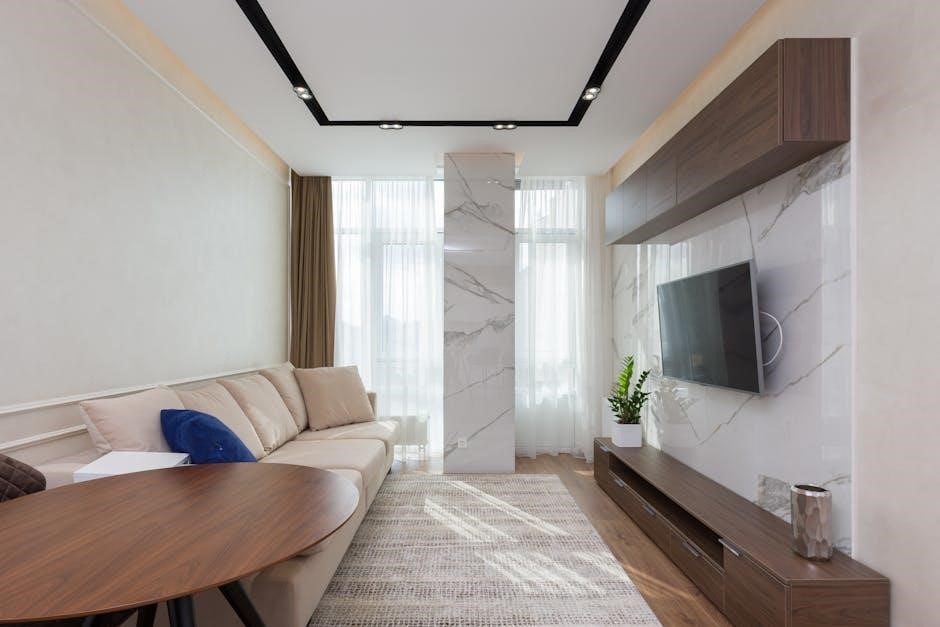
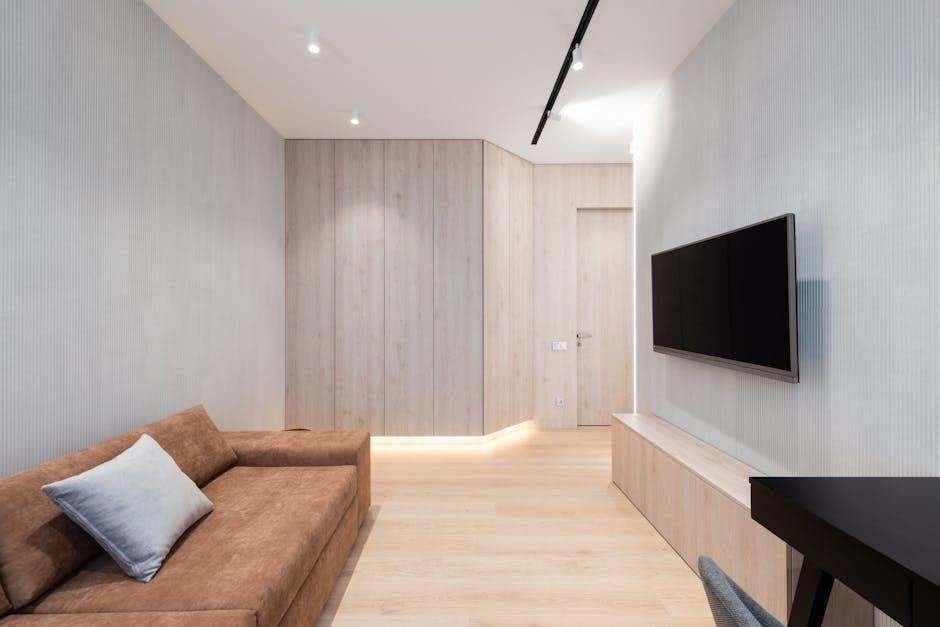
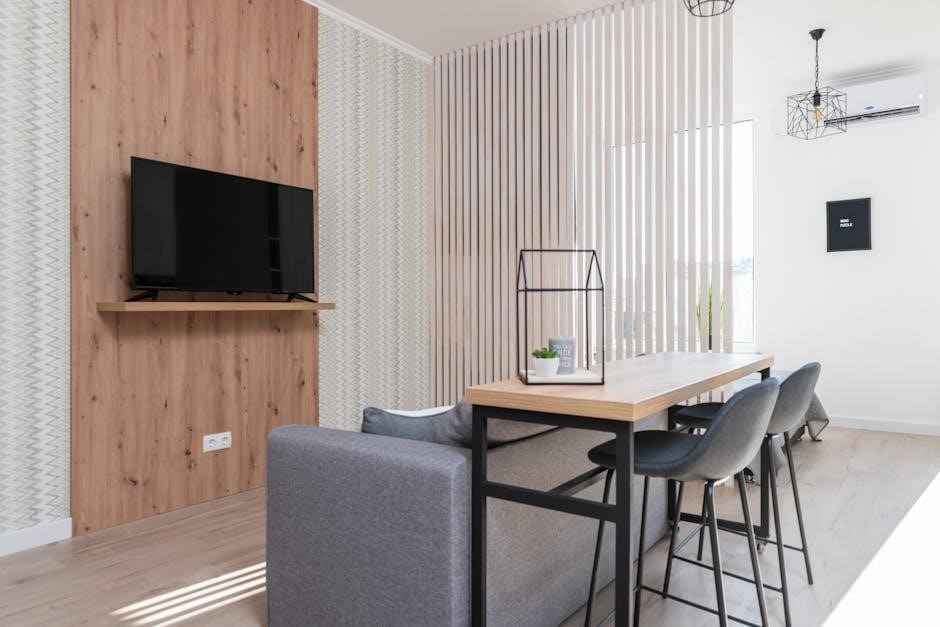
TV wall mount installation is a popular method for modern home entertainment, requiring careful planning and execution for safety and functionality. It suits various skill levels, ensuring a polished look and enhanced viewing experience.
1.1 Importance of Proper Installation
Proper TV wall mount installation ensures safety, stability, and optimal viewing experience. Incorrect installation can lead to TV damage, wall cracks, or even accidents from falling screens. Mounts must support the TV’s weight and size, adhering to VESA patterns and load capacity limits. Improper alignment or insecure fastening can cause wobbling or detachment, risking injury and equipment damage. A well-installed mount enhances aesthetics, improves space utilization, and prevents long-term issues. Always follow manufacturer guidelines and safety precautions to guarantee a secure and professional-looking setup.
1.2 Safety Precautions and Tools Needed
Safety is crucial when installing a TV wall mount. Always wear protective gear like gloves and goggles. Ensure the TV is turned off and disconnected from power. Use a stud finder to locate wall studs for secure mounting. Essential tools include a drill, level, screwdrivers, and a pencil for marking holes. Never exceed the mount’s weight capacity, as stated in the manual. Avoid installing on drywall without proper anchors. Keep children away during installation. If unsure, consult a professional to prevent accidents and ensure a stable setup. Proper preparation and caution minimize risks and ensure a successful installation.
Choosing the Right TV Wall Mount
Selecting the right mount ensures optimal viewing and stability. Consider fixed, tilting, or articulating mounts based on your needs. Check TV size, weight, and VESA patterns for compatibility.
2.1 Types of Wall Mounts (Fixed, Tilting, Articulating)
Choosing the right type of wall mount is crucial for optimal functionality. Fixed mounts hold the TV in a stationary position, ideal for maintaining a sleek, flush appearance. Tilting mounts allow vertical angle adjustments, reducing glare and improving viewing angles. Articulating mounts offer maximum flexibility, extending and swiveling to accommodate various room layouts and viewing preferences. Each type caters to different needs, ensuring the best possible setup for your TV and viewing experience. Selecting the correct mount type ensures stability and enhances overall satisfaction.
2.2 Considering TV Size, Weight, and VESA Patterns
When selecting a wall mount, it’s essential to consider your TV’s size, weight, and VESA pattern to ensure compatibility. The mount must support the TV’s weight, with most mounts accommodating up to 75 kg (165 lbs). VESA patterns, measured in millimeters (e.g., 400×400), must match the mount’s specifications. Measure your TV’s mounting holes to confirm compatibility. Mismatched mounts can lead to poor alignment or instability. Always verify the maximum weight and size limits of the mount to ensure safe and secure installation, avoiding potential damage or injury.
Preparation for Installation
Preparation is crucial for a successful TV wall mount installation. Read the manual thoroughly, check for missing parts, ensure the wall supports the weight, and confirm stud locations.
3.1 Gathering Necessary Tools and Hardware
To ensure a smooth installation, gather essential tools and hardware. These include a drill with bits, screwdrivers (both flathead and Phillips), a leveling tool, and a stud finder. Additionally, collect wall anchors, lag bolts, and VESA screws compatible with your TV’s mounting pattern. Safety gear like safety glasses and a dust mask is recommended. Double-check the hardware list provided in the manual to confirm all components are included. Organizing these items beforehand prevents delays and ensures all steps are completed efficiently.
3.2 Understanding Wall Types (Wood Stud, Concrete, Brick)
Understanding your wall type is crucial for secure installation. Wood stud walls require locating studs for anchoring, while concrete or brick walls need specialized anchors. Use lag bolts for wood studs, ensuring they’re at least 2×4. For concrete or brick, choose high-quality wall anchors or expansion bolts. Verify the wall’s structural integrity to support the TV’s weight. Always follow manufacturer recommendations for specific wall types to ensure stability and safety. Properly anchoring the mount prevents damage and ensures a sturdy installation.

Installing the Wall Plate
Install the wall plate by securing it to wood studs or concrete using appropriate hardware. Ensure it’s level and tightly fastened for a stable base.
4.1 Locating Wall Studs and Marking Positions
Locate wall studs using a stud finder or by knocking gently on the wall to identify solid areas. Mark the studs’ positions with a pencil. Measure and align the wall plate’s mounting holes with the studs. For concrete walls, use a template to mark hole locations. Ensure the wall plate is centered and level before drilling. Double-check all measurements to confirm accurate placement, avoiding metal framing or brick unless specified. Proper alignment ensures stability and safety for your TV mount.
4.2 Drilling and Securing the Wall Plate
Drill pilot holes into the marked stud positions using a drill bit slightly smaller than the wall plate’s screws. For concrete walls, use a masonry bit and anchors. Insert the wall plate and screw it into place, ensuring it’s flush and level. Tighten screws firmly but avoid over-tightening to prevent damage. Double-check stability by gently rocking the plate. For added security, use wall anchors if studs aren’t available. Properly securing the wall plate ensures the mount’s stability and safety for the TV’s weight.
Attaching the TV to the Mount
Align the TV’s mounting holes with the wall plate, securing it with M4 or M6 screws. Tighten firmly but avoid over-tightening to ensure a snug, safe fit.
5.1 Aligning the TV with the Wall Plate
Align the TV’s VESA mounting holes with the wall plate, ensuring proper fitment. Use a spirit level to confirm the TV is straight. Gently lower the TV onto the mount, ensuring it seats evenly. Check that all screws align correctly before securing. Refer to the TV’s manual for specific VESA pattern details. Misalignment can cause instability, so double-check positioning. Once aligned, proceed to secure the TV firmly to the mount. Proper alignment ensures a stable and level installation, preventing wobbling or uneven display. Always follow the manufacturer’s guidelines for precise alignment.
5.2 Tightening the Mounting Screws Safely
Tighten the mounting screws gradually and evenly to avoid uneven stress on the TV or mount. Use the recommended screw type (e.g., M4 x L14) and torque as specified in the manual. Avoid overtightening, as this may damage the TV or strip screws. Ensure all screws are firmly secured but not over-torqued. Double-check the weight capacity of the mount to confirm it supports your TV. Once tightened, gently tug on the TV to ensure stability. Properly tightened screws ensure a secure and safe installation, preventing potential damage or hazards.
Final Checks and Adjustments
Ensure the TV is stable, level, and securely mounted. Verify all screws are tightened properly and the mount supports the TV’s weight without wobbling or shifting.
6.1 Ensuring Stability and Leveling
After mounting, verify the TV’s stability and alignment using a spirit level. Check for any wobbling or unevenness and adjust the mount as needed. Ensure all screws are tightly secured to prevent movement. For optimal viewing, confirm the TV is perfectly horizontal and vertical. If the mount allows, fine-tune the tilt or swivel to achieve the desired position. Double-check the weight distribution to ensure it doesn’t exceed the mount’s capacity, as specified in the installation manual. Proper leveling ensures a safe and visually appealing setup.
6.2 Testing the Mount’s Load Capacity
After installation, test the mount’s load capacity by gently attaching the TV and ensuring it holds securely. Verify the weight limit specified in the manual and avoid exceeding it. Gradually hang the TV, checking for any signs of strain or sagging. Ensure all screws and bolts are tightened properly to distribute the weight evenly. If the mount shifts or sags, consult the manual or a professional. Proper load testing ensures long-term stability and safety, preventing potential damage or accidents. Always follow the manufacturer’s guidelines for maximum weight support.
Troubleshooting Common Issues
Common issues include uneven weight distribution, wobbling, or misalignment. Check the mount’s load capacity, ensure proper TV alignment, and tighten screws securely to resolve these problems effectively.
7.1 Addressing Weight Distribution Problems

Weight distribution issues can cause instability or damage. Ensure the mount’s load capacity matches your TV’s weight. Check for uneven mounting holes or loose screws. If the TV tilts, adjust the mount’s balance or redistribute weight evenly. Verify that all hardware is securely tightened and aligned properly. If problems persist, consult the installation manual or contact a professional to avoid safety risks and ensure proper functionality. Proper weight distribution is crucial for stability and longevity of the mount and your TV.
7.2 Resolving Misalignment or Wobbling
Misalignment or wobbling can compromise stability and safety. Begin by ensuring the wall plate is level and securely fastened to the studs. Check all screws for tightness and verify the TV’s position on the mount. If the issue persists, adjust the mount’s articulating arms or tilting mechanisms. For fixed mounts, recheck alignment and hardware. If wobbling continues, consider reinforcing the wall anchors or consulting a professional. Proper alignment ensures a stable and secure installation, preventing potential damage or accidents.