The Wilton Rabbit Cake Pan is a popular and versatile baking tool, ideal for creating adorable Easter-themed cakes. Made from durable aluminum, it ensures even baking and easy release. Perfect for both beginners and experienced bakers, this pan is a must-have for holiday treats.
1.1 Overview of the Wilton Rabbit Cake Pan
The Wilton Rabbit Cake Pan is a durable, aluminum baking mold designed for creating festive Easter bunny-shaped cakes; Its non-stick surface ensures easy cake release, while its detailed design captures the bunny’s features perfectly. Lightweight and easy to handle, the pan is ideal for both beginners and experienced bakers. It holds the perfect amount of batter for a standard cake mix, making it a convenient option for holiday treats. The pan comes with clear instructions, guiding users through baking and decorating steps. Its versatility allows for simple or elaborately decorated cakes, making it a favorite for Easter celebrations and themed parties. The Wilton Rabbit Cake Pan is a must-have for anyone looking to create charming, professional-looking bunny cakes effortlessly.

1.2 Popularity and Versatility of the Pan
The Wilton Rabbit Cake Pan is a beloved choice among bakers due to its versatility and ease of use. Its popularity stems from its ability to create adorable Easter-themed cakes that impress both children and adults. The pan’s design allows for simple or elaborately decorated bunnies, catering to all skill levels. It is not only ideal for Easter but also for spring-themed parties or baby showers. The pan’s durability and even heat distribution make it a reliable tool for consistent results. Many users praise its non-stick surface and detailed bunny design, ensuring cakes release perfectly and look professional. This pan is a timeless addition to any baker’s collection, offering endless creative possibilities for festive and joyful celebrations.
1.3 Key Features of the Wilton Rabbit Cake Pan
The Wilton Rabbit Cake Pan is crafted from durable aluminum, ensuring even heat distribution for consistent baking results. Its non-stick surface allows for effortless cake release, reducing the risk of damage to the delicate bunny design. The pan features a detailed bunny shape, creating an adorable and professional-looking cake straight from the oven. It is lightweight and easy to handle, making it ideal for bakers of all skill levels. The pan’s design accommodates one box of standard cake mix, simplifying the baking process. Additionally, it is easy to clean and maintain, making it a practical addition to any baker’s collection. These features make it a favorite for creating festive Easter treats and beyond.
Materials and Tools Needed
Essential materials include a Wilton rabbit cake pan, cake mix, frosting, baking supplies, and decorating tools. Ensure you have measuring cups, mixing bowls, and utensils ready for preparation.
2.1 Essential Baking Supplies
To bake a Wilton rabbit cake, you’ll need a Wilton rabbit cake pan, baking sheets, non-stick spray, mixing bowls, an electric mixer, measuring cups, and a rubber spatula. A cake tester or toothpick is handy for checking doneness. An oven thermometer ensures accurate temperature control. A cooling rack is essential for cooling the cake evenly. Parchment paper can line the baking sheet for easy cleanup. These supplies ensure a smooth and successful baking process for your Easter-themed cake.
2.2 Recommended Cake Mix and Frosting
The Wilton Rabbit Cake Pan works best with a standard 2-layer cake mix, ensuring the right consistency for detailed shapes. For frosting, Wilton recommends using 2-3 packages of their Creamy White Icing Mix, which makes about 2 cups of icing. Follow the package instructions to prepare the frosting for smooth decorating. Using the specified mix ensures the cake bakes evenly and the frosting adheres perfectly. Proper batter and frosting preparation are key to achieving the desired rabbit cake shape and decoration. Always fill the pan as directed to avoid overflow and ensure the cake releases cleanly. This combination guarantees a professional-looking Easter bunny cake with minimal effort.
2.3 Decorating Tools for Details
For intricate details, use Wilton’s decorating tools, such as piping bags and tips, to create the bunny’s features. A small round tip is ideal for eyes and nostrils, while a larger tip works for outlining ears. A toothpick or skewer can help shape small details like whiskers. White icing is recommended for the face, with optional colors for added personality. A spatula or knife is handy for smoothing frosting. These tools ensure precise and professional-looking decorations, making your bunny cake stand out. Proper use of these tools, as per instructions, guarantees a polished finish. Always follow the recommended techniques for the best results.
Step-by-Step Baking Instructions
Preheat your oven to 350°F. Pour batter into the prepared Wilton Rabbit Cake Pan. Bake for 55-60 minutes, until a toothpick inserted comes out clean. Let the cake cool in the pan before decorating.
3.1 Preparing the Pan for Baking
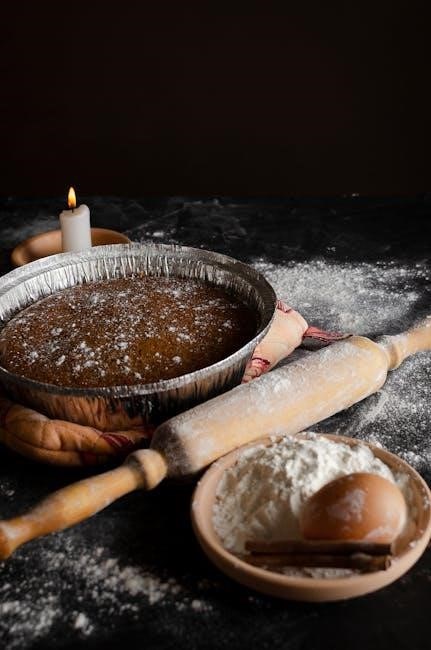
To ensure your Wilton Rabbit Cake Pan is ready for baking, start by lightly greasing it with shortening or cooking spray. This step prevents the cake from sticking and ensures easy release. Next, flour the pan evenly, tapping out any excess. Place the prepared pan on a baking sheet for added stability during baking. Pour the cake batter into the pan, filling it to the rim of the side with the rabbit’s face. Avoid overfilling, as this can cause the batter to spill during baking. Follow these steps carefully to achieve a perfectly shaped Easter bunny cake with crisp details and a smooth release from the pan.

3.2 Mixing the Cake Batter
Begin by preparing the cake batter according to the recipe or cake mix instructions. For best results, use a standard 2-layer cake mix. In a large mixing bowl, combine the mix, water, oil, and eggs. Use an electric mixer on low speed to blend the ingredients until smooth, ensuring no lumps remain. Avoid overmixing, as this can create air pockets in the batter. If desired, add a teaspoon of vanilla extract or a pinch of salt for extra flavor. Once the batter is ready, pour it into the prepared pan, filling it to the recommended level. For a moist cake, consider substituting water with buttermilk. Ensure the batter is evenly distributed before proceeding to bake. This step is crucial for achieving a uniform texture and proper cake shape.
3.3 Baking the Cake
Preheat your oven to 350°F (175°C). Place the Wilton Rabbit Cake Pan on a baking sheet for stability. Pour the prepared batter into the pan, filling it to the recommended level. Bake for 55-60 minutes, or until a toothpick inserted into the thickest part of the bunny comes out clean. Avoid opening the oven door too early, as this can cause the cake to sink. Once baked, remove the cake from the oven and let it cool in the pan for 10 minutes. The cake should be golden brown and firm to the touch. Overbaking can lead to dryness, so monitor the cake closely toward the end of the baking time. Proper baking ensures a moist and even texture, essential for the next steps of cooling and decorating. Always follow the recipe’s specific temperature and timing guidelines for best results.
3.4 Cooling the Cake
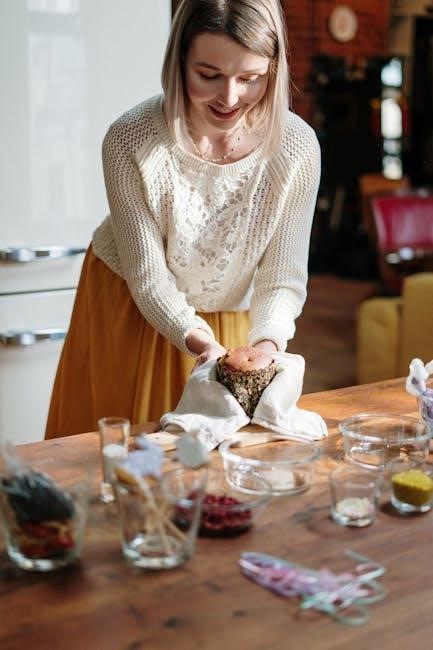
After baking, allow the cake to cool in the Wilton Rabbit Cake Pan for 10 minutes. This helps the cake set and prevents it from breaking when removed. Carefully transfer the cake to a wire rack to cool completely. Ensure the cake is on a flat, stable surface to maintain its shape. Avoid rushing the cooling process, as this can cause the cake to crack or become misshapen. Let the cake cool to room temperature before frosting or decorating. Proper cooling ensures the cake is stable and ready for the next steps. The non-stick surface of the Wilton pan should make removal easy, but gently running a knife around the edges can help if needed. Cooling is a crucial step before assembling and decorating the rabbit cake. Patience here ensures a professional finish. Always let the cake cool completely to avoid melting frosting or causing damage. A well-cooled cake is essential for smooth decoration and presentation. Cooling time may vary depending on the size and thickness of the cake, but it typically takes about 30-45 minutes. Keep the cake away from direct sunlight or heat sources during cooling. Once cooled, your bunny cake will be ready for the final touches. Proper cooling prevents sogginess and ensures a firm base for decorating. This step is vital for achieving a polished and visually appealing result. Cooling the cake thoroughly guarantees it will hold up well during assembly and decoration. Always prioritize cooling before moving on to the next steps in the process. This ensures the cake remains intact and looks its best for your special occasion. Cooling is the final preparation step before bringing your bunny cake to life with frosting and decorations. Make sure the cake is completely cool to the touch to avoid any issues during assembly. Cooling the cake properly is the last step before the fun of decorating begins; This ensures your bunny cake is stable and ready for the creative touches that make it special. Cooling is essential for maintaining the cake’s structure and ensuring it holds up well under frosting and decorations. Always allow the cake to cool completely before proceeding to the next steps. This ensures a smooth and successful decorating process. Cooling the cake thoroughly is the final preparation step before the fun begins. It ensures the cake is stable and ready for frosting and decorations. Proper cooling is the key to a successful bunny cake. This step ensures the cake is firm, stable, and ready for the final touches. Cooling the cake completely is essential for achieving a polished and professional finish. It ensures the cake holds up well under frosting and decorations. Always allow the cake to cool completely before decorating to avoid any issues. This step is crucial for a successful outcome. Cooling the cake thoroughly ensures it is ready for the next steps in the process. It guarantees the cake will hold up well and look its best. Always let the cake cool completely before moving on to frosting and decorating. This ensures a smooth and successful process. Cooling the cake properly is the final step before bringing your bunny cake to life. It ensures the cake is stable and ready for the creative touches that make it special. Cooling is essential for achieving a polished and visually appealing result. Always allow the cake to cool completely to ensure it holds up well under frosting and decorations. This step is vital for a professional finish. Cooling the cake thoroughly ensures it is stable and ready for decorating. It guarantees the cake will look its best and hold up well under frosting and decorations. Always let the cake cool completely before proceeding to the next steps. This ensures a smooth and successful decorating process. Cooling the cake properly is the final preparation step before the fun of decorating begins. It ensures the cake is stable and ready for the creative touches that make it special. Cooling is essential for maintaining the cake’s structure and ensuring it holds up well under frosting and decorations. Always allow the cake to cool completely before decorating to avoid any issues. This step is crucial for a successful outcome. Cooling the cake thoroughly ensures it is ready for the next steps in the process. It guarantees the cake will hold up well and look its best. Always let the cake cool completely before moving on to frosting and decorating. This ensures a smooth and successful process. Cooling the cake properly is the final step before bringing your bunny cake to life. It ensures the cake is stable and ready for the creative touches that make it special. Cooling is essential for achieving a polished and visually appealing result. Always allow the cake to cool completely to ensure it holds up well under frosting and decorations. This step is vital for a professional finish. Cooling the cake thoroughly ensures it is stable and ready for decorating. It guarantees the cake will look its best and hold up well under frosting and decorations. Always let the cake cool completely before proceeding to the next steps. This ensures a smooth and successful decorating process. Cooling the cake properly is the final preparation step before the fun of decorating begins. It ensures the cake is stable and ready for the creative touches that make it special. Cooling is essential for maintaining the cake’s structure and ensuring it holds up well under frosting and decorations. Always allow the cake to cool completely before decorating to avoid any issues. This step is crucial for a successful outcome. Cooling the cake thoroughly ensures it is ready for the next steps in the process. It guarantees the cake will hold up well and look its best. Always let the cake cool completely before moving on to frosting and decorating. This ensures a smooth and successful process. Cooling the cake properly is the final step before bringing your bunny cake to life. It ensures the cake is stable and ready for the creative touches that make it special. Cooling is essential for achieving a polished and visually appealing result. Always allow the cake to cool completely to ensure it holds up well under frosting and decorations. This step is vital for a professional finish. Cooling the cake thoroughly ensures it is stable and ready for decorating. It guarantees the cake will look its best and hold up well under frosting and decorations. Always let the cake cool completely before proceeding to the next steps. This ensures a smooth and successful decorating process. Cooling the cake properly is the final preparation step before the fun of decorating begins. It ensures the cake is stable and ready for the creative touches that make it special. Cooling is essential for maintaining the cake’s structure and ensuring it holds up well under frosting and decorations. Always allow the cake to cool completely before decorating to avoid any issues. This step is crucial for a successful outcome. Cooling the cake thoroughly ensures it is ready for the next steps in the process. It guarantees the cake will hold up well and look its best. Always let the cake cool completely before moving on to frosting and decorating. This ensures a smooth and successful process. Cooling the cake properly is the final step before bringing your bunny cake to life. It ensures the cake is stable and ready for the creative touches that make it special. Cooling is essential for achieving a polished and visually appealing result. Always allow the cake to cool completely to ensure it holds up well under frosting and decorations. This step is vital for a professional finish. Cooling the cake thoroughly ensures it is stable and ready for decorating. It guarantees the cake will look its best and hold up well under frosting and decorations. Always let the cake cool completely before proceeding to the next steps. This ensures a smooth and successful decorating process. Cooling the cake properly is the final preparation step before the fun of decorating begins. It ensures the cake is stable and ready for the creative touches that make it special. Cooling is essential for maintaining the cake’s structure and ensuring it holds up well under frosting and decorations. Always allow the cake to cool completely before decorating to avoid any issues. This step is crucial for a successful outcome. Cooling the cake thoroughly ensures it is ready for the next steps in the process. It guarantees the cake will hold up well and look its best. Always let the cake cool completely before moving on to frosting and decorating. This ensures a smooth and successful process. Cooling the cake properly is the final step before bringing your bunny cake to life. It ensures the cake is stable and ready for the creative touches that make it special. Cooling is essential for achieving a polished and visually appealing result. Always allow the cake to cool completely to ensure it holds up well under frosting and decorations; This step is vital for a professional finish; Cooling the cake thoroughly ensures it is stable and ready for decorating. It guarantees the cake will look its best and hold up well under frosting and decorations. Always let the cake cool completely before proceeding to the next steps. This ensures a smooth and successful decorating process. Cooling the cake properly
4.2 Decorating Tips and Techniques
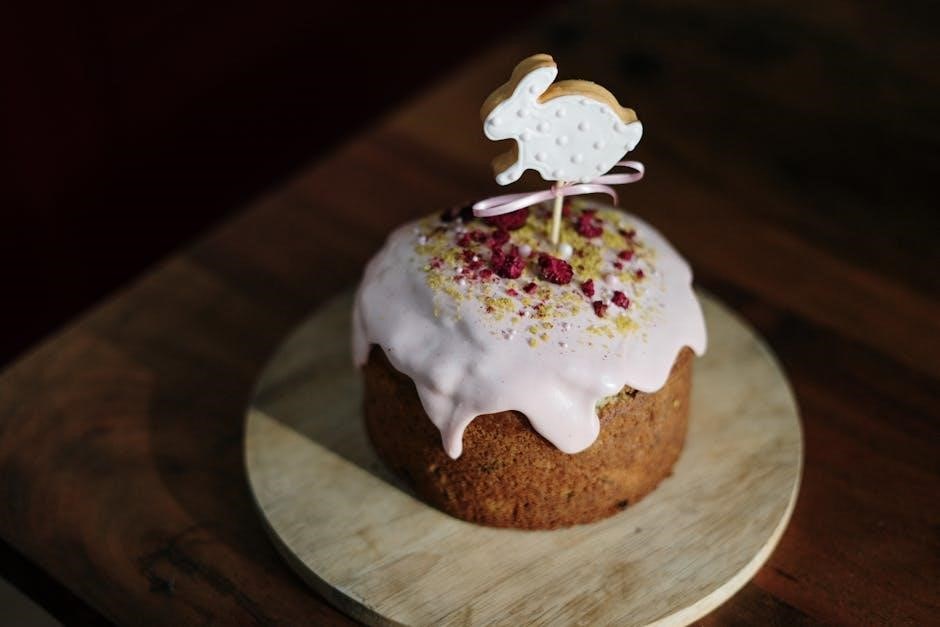
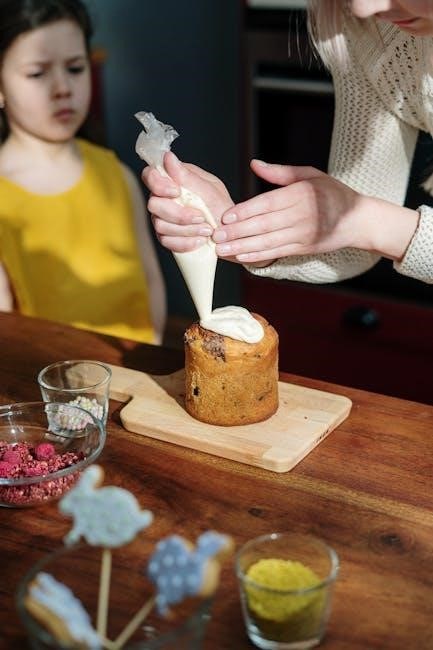
Assembly and Decoration
Once cooled, use frosting to attach cake parts if needed. Decorate with buttercream, adding details like eyes, nose, and whiskers. Customize with candies or sprinkles for a festive touch.